Dear Frugal Mama readers,

It was three and half years ago when I wrote my last post in this blog. I said I would be devoting more time to the community and my family. I did that, and I also began writing the personal essays I had been wanting to write.

I’ve been doing this creative writing about my life since our youngest, Diana, went to pre-K in 2017. I can’t really explain why, but almost none of that writing emerged from the darkness of my notebooks, workshop sessions, or computer files.

Something major shifted not only in the world but in me when the coronavirus crisis hit. I feverishly wrote about how my life — our lives — were changing dramatically and I no longer felt I had the luxury of time. I needed to release this writing into the world, regardless of how it was received.

I started a page called Painting a Life with Words where these micro-memoirs, poems, and essayettes are like dots in a pointillist painting. Each one tiny and separate but together adding up to something bigger.

Please stop by and see if it’s something that speaks to you. It’s quite different from what I was writing at Frugal Mama, and yet I’m still the same person.

Sure, things have changed — our eldest Sofia is set to go to college in the fall, and Diana, the baby, is now 6 years old. The sharp curves and steep hills of life have challenged me to grow.

I post something on the new site most days. You can also sign up for twice-weekly updates by email, and I would be honored to have you as part of that group.

And feel free to share the blog with anyone that you think might feel in tune with it. The writing is personal, but it is meant to be shared.

The strongest impulse I seem to have right now, as the world is crumbling, is to communicate. And grabbing little bits of my life, turning them around in my hands, and offering them out is what I seem called to do.

Thank you for your support over the years. I hope you are doing well and are healthy and safe.

Sincerely,

Painting a Life with Words | micro-memoirs, poems, and essayettes on my beautiful terrible pandemic life 

2 comments

Turning the Page

Neighborhood Fall Party

Ever since I stepped back from the intensity of blogging, I’ve been devoting more time to community: my family, the schools, friends and mothers’ groups, and our neighborhood.  I keep thinking I’m going to get back to blogging, but I find myself pulling away from the computer and venturing into the world.

For someone who concentrates energy on the house and family, looking toward the neighborhood felt like drawing the circle a little wider.  Ideally a neighborhood should feel like an extension of home, with a similar sense of safety and warmth.  Neighbors are who you count on when a storm knocks out your heat, a child needs to be picked up early, or you’re out of eggs.  Neighbors can be the support network that was once provided by large, extended families.

And yet, we don’t always know our neighbors.  We Americans love our privacy and our space.  We put so much energy into our nuclear families and our careers, our online groups and our Facebook friends, that we forget to think of the helpful community that a neighborhood can provide.  To make matters more difficult, we don’t naturally run into all of our neighbors — partly because American towns tend to be arranged in grids, instead of around squares or town centers.

When we moved to Washington, D.C., five years ago, I didn’t expect to find an old-fashioned community.  When our moving truck arrived here on a sweltering June day in 2011, a smiling woman came out from her flower-filled porch bearing toys for our kids.  We were invited to block parties, where neighbors gave us phone lists and maps of residents, alley grill-outs, Christmas potlucks, progressive dinners, and egg hunts in the park.

Science backs up what many instinctually know: deepening relationships and joining communities makes us happier and healthier.  Yet we often think the opposite: that doing better in life will break us free from those ties so that we can have more space, more privacy, more independence.

Living on a tight budget for the first ten years of our family life helped me discover a more cooperative existence.  I realized over and over that working together might be a little bit harder sometimes, but it’s infinitely more satisfying.

However as I spent more time on the simple living concept of Frugal Mama and the opportunities it led to, I had less and less time to participate in communities. As I wrote about, one of the ironies of the blog’s success was that it not only consumed time that I had once spent on saving money, but also on the relationships which I felt were what mattered most.

Three years ago, I dismantled the business side of the blog so I could take care of first things first:  my children and husband, the household, and the organizations where we live that supported us.
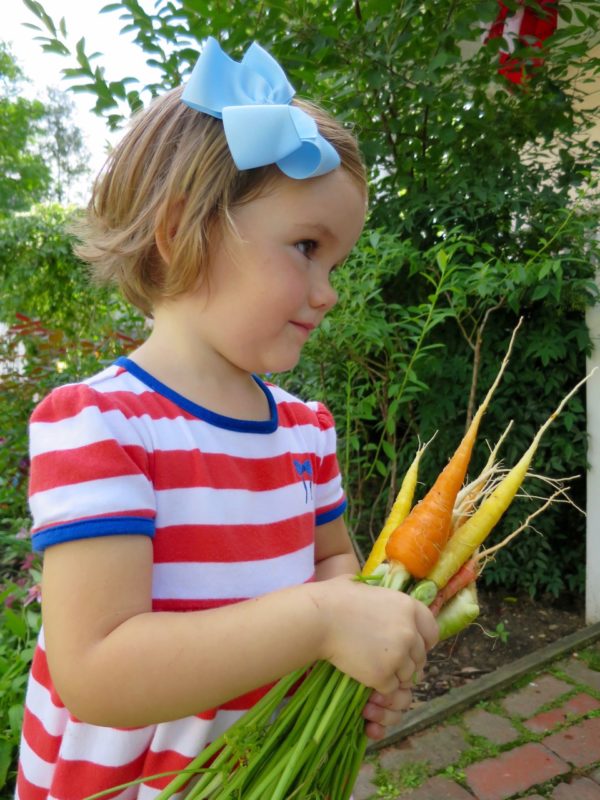
Diana holding homegrown carrots

Once Diana had grown from a baby to a toddler and I could turn outward again, I began to think about our neighborhood.  It was so great: what could I do to help?  Some of the ideas I had were creating a communication loop, organizing regular social events, highlighting our history by connecting with older residents, and finding ways to welcome new neighbors and help those in need.

Our neighborhood didn’t have set boundaries or a name, so a group of neighbors and I mapped out an area of 113 houses spanning three blocks between a main thoroughfare and a park.  Drawing the line can be tough, but it seemed essential to creating a feeling of safety and fostering a sense of belonging.  A name for our little area was in order, so we flyered the neighborhood, collected suggestions, and took a vote.

Since then we have created a printed directory, a listserv where people exchange hand-me-downs and handyman numbers, and a calendar of regular gatherings.  This summer, for example, we started a series of casual parties called Front Porch Fridays, where we all bring drinks and hang out on neighborhood porches.
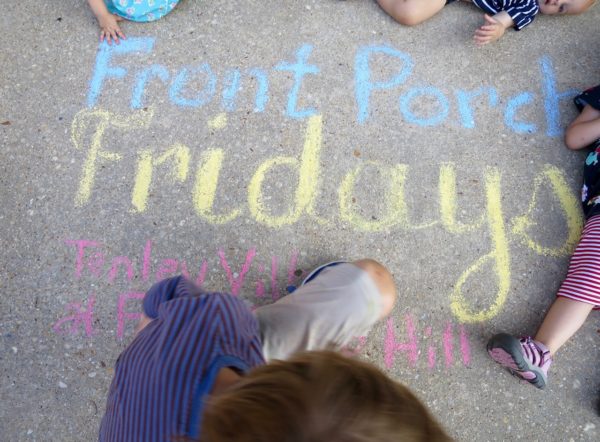
Front Porch Fridays

The magic of the Web is that it connects us to far-flung people who we’d normally never meet.  We can find people with the same specific interests and connect instantly.

Now I’m fascinated with the magic of physical closeness.  Proximity has a different power: the power to bring people together face-to-face.

Like family, neighbors can’t be chosen.  Every neighborhood has a crazy uncle and those cousins you only see at family reunions.  There are grandparents and babies, teens and twenty-somethings — neighborhoods are not age-segregated.  And if there is a sense of community and shared interest, you belong to each other.  And with that sense of belonging comes a desire to get involved, to be less shy about asking for help, and a kind of responsibility to watch out for each other.

I remember how easy it was to make friends in college.  If you lived on campus, you spent all your time with your dormmates, sharing everything from rooms to meals to classes and entire weekends of free time.

But now we have jobs and families and we live in separate houses with yards and cars.  Many of us are separated from our families of origin — or any relative at all — by thousands of miles.  Even friends who live in the same city can find it exasperatingly difficult to get together.

That’s why there is something precious about the people who live next to us and behind us.  Without the barriers of distance and travel time, neighborhoods are natural places to find friends, playdates, mentors, babysitters, helpers. The inter-generational nature of neighborhoods means that many of those connections will be people in different stages of life.  And there can be great comfort in knowing someone who has been through the same struggles you have.

While taking a break from the blog this past year, I found myself able to say yes to getting involved in other groups: helping middle-school parents produce the big spring musical, organizing a retreat for my mothers’ group, and working on bringing more harmony and cooperation to our family unit.

All the while, I kept thinking I would get back to writing here.  Finally I had to come to terms with the fact that I couldn’t keep up Frugal Mama and take on all the other projects I was excited about.  Most of us will experience different callings in life, and even though it’s bittersweet, sometimes you have to walk away from one in order to walk toward another.

Amy Suardi at beach with family

Frugal Mama has been a source of creativity and connection for me for almost seven years, so realizing that it is winding down has been hard.  Even though the website and past content will stay live, I won’t be writing regular blog posts anymore, and I’ll miss that.

It’s been so wonderful to have you in my life, and I hope this is not a good-bye, but a ‘see you later.’  I know I will return to writing, and I hope that you will come visit me wherever that new place will be.

Until then, I will imagine you out there fighting the good fight, looking for the silver lining in saving money, and keeping life simple so you have time for what really matters.  I’m with you.

Photos: first and last by Sofia Suardi, others by author

22 comments

How to Start a Babysitting Coop | Part 3

With this post, I wrap up my series on how to start your own babysitting co-op.  Co-ops are a wonderful way to get to know dependable people in your community, expand your child’s social circles, and capture more time for yourself without spending money.
In part one, I went over how different co-ops are organized and the pros and cons of various point-tracking systems.
In part two, I talked about how to fan the flames to help create a warm, active, and successful group.

In this last part, I have collected some of the forms, by-laws, and marketing materials used by the different co-ops I have been a part of.  (Names and locations of co-ops have been changed.)  You may download these documents and, in most cases, customize them as you like.


Neighborhood-Based Co-op

The neighborhood-based co-op I went over in earlier articles defined its group by geographical boundaries.  Founded in the 1970s, its by-laws, structure, and procedures may seem formal today, but it is also one of the longest-running and most successful co-ops in this line-up.  This co-op has rotating leaders, secretaries who handle sit requests, and a point system based on cards.


Parent Association Co-op

The parent association co-op was formed within a not-for-profit organization of parents.  The group is open to families at a set of affiliated institutions in New York City, and it organizes social events, maintains play spaces, and coordinates discounted after-school activities.  The group’s babysitting co-op is semi-formal with rotating leaders and a simplified set of by-laws and procedures.  They use a website to request sits and keep track of points.

  • Interest Sign-up: for gauging interest in a new co-op & collecting contact information (click to download)
  • Roster:  A kind-of address book for member families to refer to (click to download)
  • Simple Guidelines: rules for using the co-op as well as leadership and online point tracking system (click to download)
  • Trifold Brochure (customizable document): for publicizing the co-op (click to download)
  • Trifold Brochure (printable PDF): for publicizing the co-op (click to download)


Preschool Co-op

The preschool-based co-op is one of the more informal co-ops.  Members arrange their own sits with each other via a private listserv.  Tickets are exchanged between members with no oversight.  A volunteer coordinator admits new members, distributes initial tickets, and assigns playdate hosts.

  • Co-op Info Sheet: a flyer that explains the what, who, why, and how of this co-op (click to download)
  • Child Information Sheet: a form to collect contact and health information for member children (click to download)
  • Sign-Up Sheet:  an agreement to join with an explanation of the rules (click to download)


Circle of Friends Co-op

Made up of four families who live on the same road in a small town, this group is a leaderless co-op with minimal rules.  Families update their own point counts using a shared online spreadsheet and take turns hosting potluck dinners.

I hope these resources can be helpful to you as you create your own babysitting co-op.  (See also Part 1 in this series for basics and Part 2 for tips on launching and longevity.)

One of the most important things I have learned about communities is that face-to-face interactions are essential.  Babysitting co-ops will not work unless there are high levels of trust.

Email and websites might be convenient, but they cannot replace being in each other’s presence.  So use technology sparingly, and whenever possible, give your members reasons to see and know each other.

With families often spread out all over the country, many parents need to create their own support systems.  Like passing along hand-me-downs or bringing dinner to a family with a newborn, a babysitting co-op is a valuable network that can fill essential needs while saving everyone a pretty penny.

Photo credit:  Sofia Suardi

5 comments

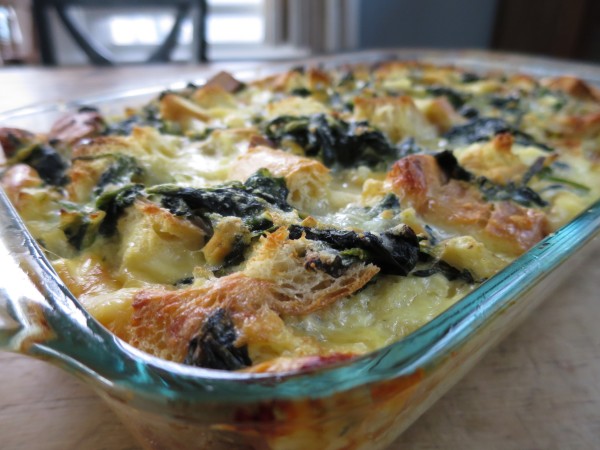
Spinach and cheese strata: a delicious make-ahead brunch casserole

Sometimes called sleep-in quiche, never-fail souffle’, or 24-hour omelet, the strata is a breakfast casserole that requires overnight rest, making it a perfect dish to serve on Christmas morning, New Year’s Day, or any brunch party.

The word strata means layers because most recipes call for the layering of bread, cheese, and either meat or vegetables, with a beaten-egg mixture poured over.

One thing I love about stratas is the contrast in textures: the top gets crunchy and browned, while the inside remains soft and creamy.  Because the bread needs time to absorb the custard, you have no choice but to make it ahead, a blessing on busy mornings.

When the strata is baking and the house is filling with delightful smells, I am often far away from the kitchen, busy with other things and feeling like I’ve pulled off some small magic.

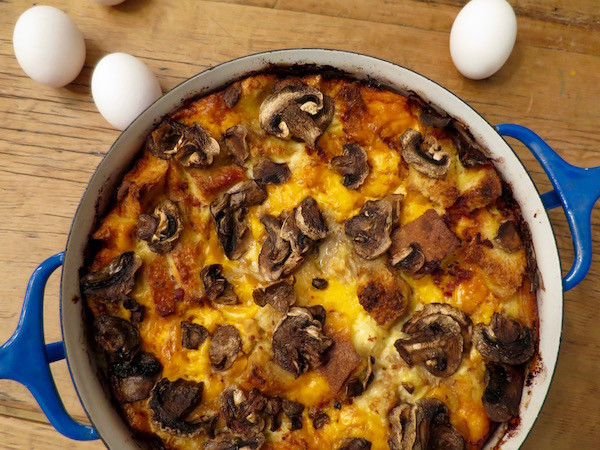
Bacon and Cheese Strata

Bacon and cheese strata: an easy make-ahead casserole for brunch parties

Family friend and cook, Shirley, gave us this recipe when we were looking for a make-ahead dish that was salty and satisfying for a very special brunch.  I made and froze six double batches of this strata and we served it at our farm the Sunday morning after Enrico and I got married.  It was delicious, and still is.

Serves 4 to 6

  • 2 cups (3 slices) of bread cubes
  • 1/2 lb. sharp cheddar cheese, cubed
  • 1/2 lb. bacon, cooked and crumbled
  • 1/4 cup butter, melted
  • 1/2 lb. mushrooms, sliced
  • 3 large eggs
  • 2 cups milk
  • 1 teaspoon dijon mustard
  • 1/4 teaspoon salt

Place half the bread cubes in a well-buttered 1 1/2 quart casserole dish.  Top with half the cheese, half the bacon, and half the melted butter.  Repeat layers and arrange mushrooms on top.  Beat eggs, milk, mustard, and salt, and pour over the layered mixture.  Cover and refrigerate overnight.

The next day, bake uncovered at 300 degrees for 1 1/2 hours until top is golden brown.

Spinach and Cheese Strata

(adapted from Gourmet magazine, February 2003)

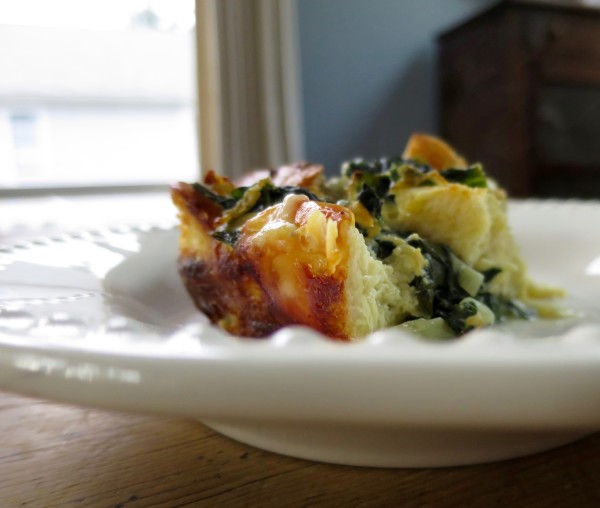
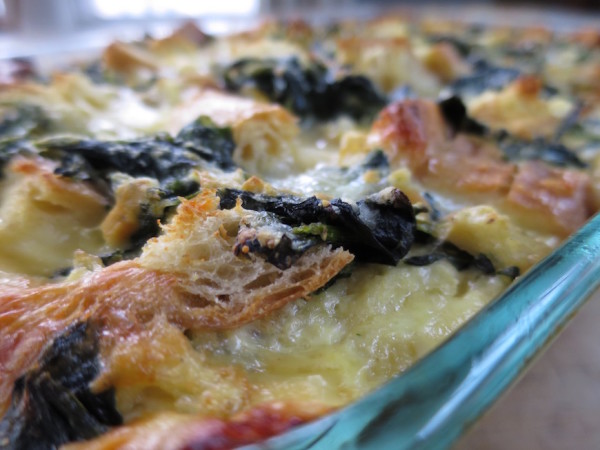
A slice of spinach and cheese strata, a make-ahead breakfast casserole

My mom and I have been making this recipe for about ten years now.  Even though it still qualifies as comfort food, it has a healthier, lighter feel, and the gourmet cheese gives it a sophisticated touch.  Fresh chopped spinach can be substituted for frozen.

Serves 6 to 8

  • 1 (10 ounce) package of chopped frozen spinach
  • 1 1/2 cups finely chopped onion (1 large onion)
  • 3 tablespoons unsalted butter
  • 1 teaspoon salt
  • 1/2 teaspoon black pepper
  • 1/4 teaspoon freshly grated nutmeg
  • 8 cups cubed French or Italian bread in 1-inch cubes (about 1/2 lb)
  • 6 ounces coarsely grated Gruyere (or Swiss or Jarlsberg) (about 2 cups)
  • 2 ounces finely grated parmesan (about 1 cup)
  • 2 1/4 cups milk
  • 9 large eggs
  • 2 tablespoons dijon mustard

Sauté onion in butter in a large skillet over medium heat until soft, about 5 minutes. Add 1/2 teaspoon salt, 1/4 teaspoon pepper, and nutmeg and continue cooking for one minute. Stir in spinach, and heat until spinach is thawed.  Remove from heat and set aside.

Spread one third of the bread cubes in a well-buttered 3-quart oven-safe dish. Top with one-third of spinach mixture and one-third of each cheese. Repeat layering twice with remaining bread, spinach, and cheese.

Whisk eggs, milk, mustard, and remaining 1/2 teaspoon salt and 1/4 teaspoon pepper together in a large bowl and pour evenly over strata. Cover with plastic wrap and chill strata for eat least 8 hours or up to a day.

Make-ahead breakfast casseroles

The next day, let it stand at room temperature for 30 minutes while preheating the oven to 350°F. Bake strata, uncovered, in middle of oven until puffed, golden brown, and cooked through, 45 to 55 minutes. Let stand 5 minutes before serving.

And then enjoy your special day.

Be the first to comment

How to Make Cards from Kids' Drawings

Homemade cards are a gift in themselves, especially when a child has added a unique element of whimsy.  When our daughter Virginia turned seven, we made these winter reindeer cards as invitations.

Here’s how you can transform any child’s drawing, even a doodle or sketch, into a keepsake for the holidays or any special occasion.

Transform a child's drawing into a holiday card

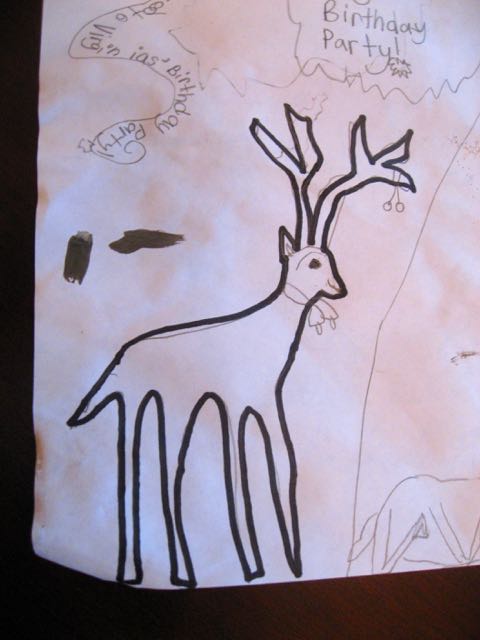
This sketch of a reindeer by Virginia became the inspiration for her birthday party invitation.

To make a small but hefty card, fold regular printer paper into fourths

We used regular 8.5″ x 11″ colored printer paper we already had, making it more hefty by folding it vertically and then horizontally.  When closed, the finished card is the size of 1/4 sheet.

Outline with dark marker the parts of the drawing that you want to transfer to the card.

To keep the image simple for this small card, I chose the dominant lines of Virginia’s drawing, outlining them with a black marker.  The thick dark line made it easier to trace.

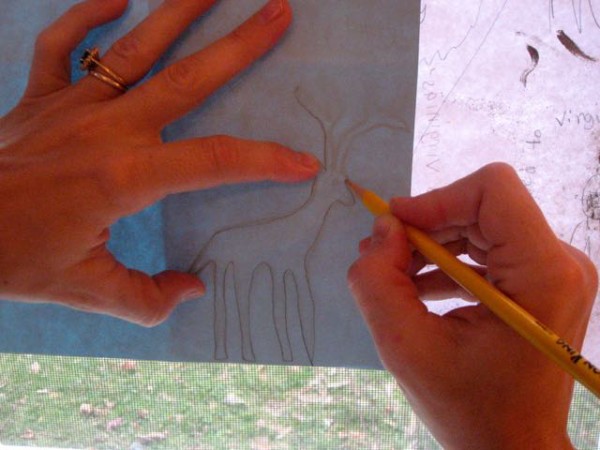
Using a window as a lightbox, transfer the child's drawing to the card paper by tracing.

Using a glass window as a lightbox, I transferred the drawing by placing the card on top of the original drawing and tracing the image.

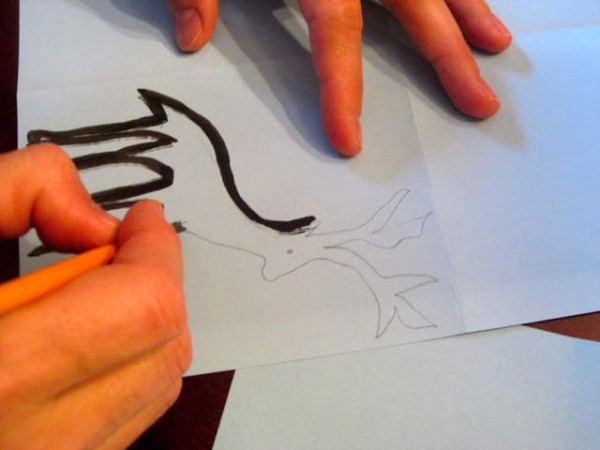
Get creative with materials. Here we used paint to make the sketch more striking.

Once the image was transferred to my card paper, I went over the pencil lines with paint and brush.

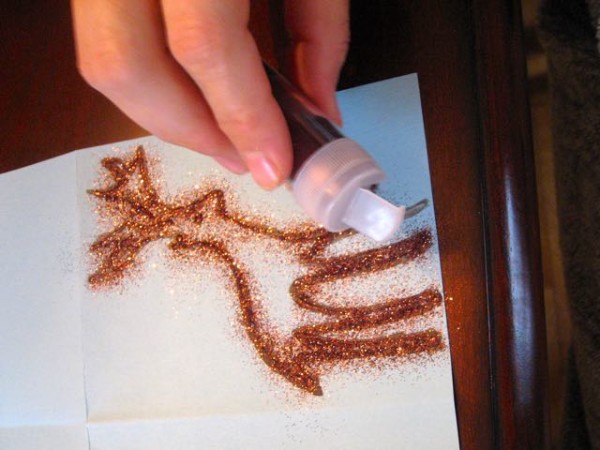
Draw a line of glue over any lines where you want to apply glitter.

Then I went over the drawing with a thin line of glue so we could glitter it up.

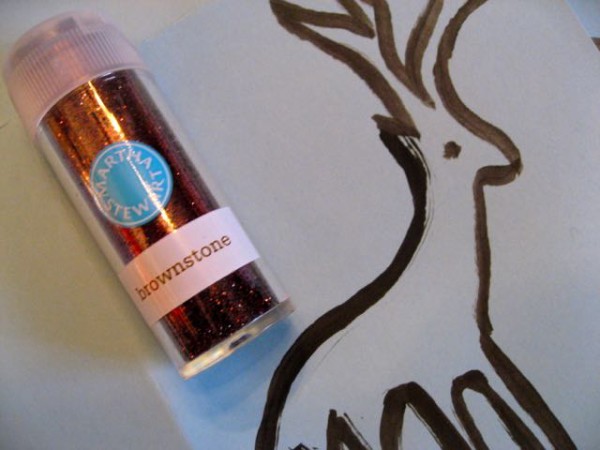
We used Martha Stewart's glitter in Brownstone.

We used Martha Stewart’s glitter in Brownstone.

We highlighted the child's main image using paint and matching glitter.

You can collect and re-use any unused glitter by shaking loose dust onto a clean sheet of paper.

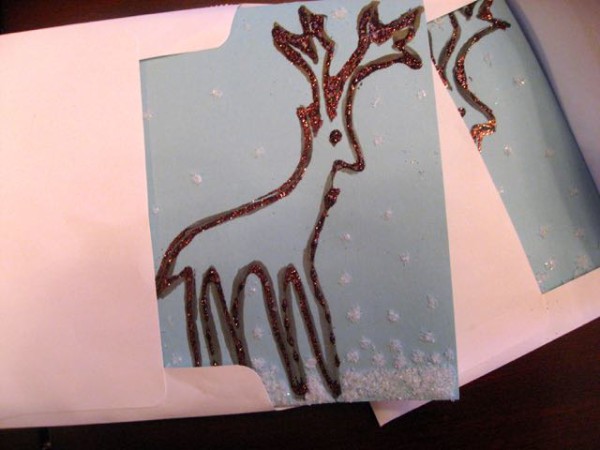
Add snow with white glitter.

Then we created snow by adding more glue and chunky white glitter.

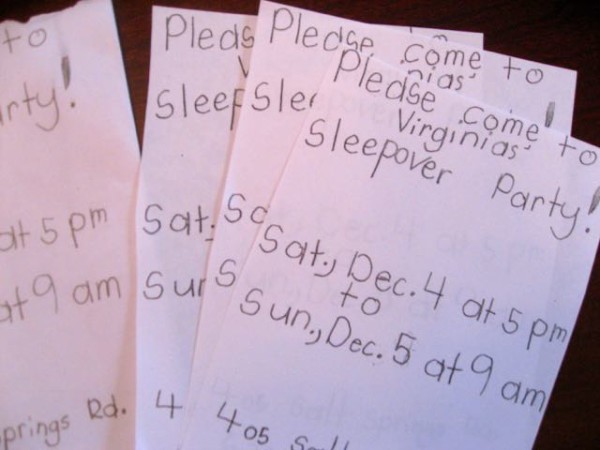
Photocopy children's invite details and paste into each card.

Virginia wrote up the party details, which we photocopied and pasted into the interior of each invitation.

A2 envelopes are great for 1/4 folded sheets and announcements.

A-2 envelopes (4.37″ x 5.75″) are perfect for 1/4 folded sheets.

Even though we made each invitation in the same way, saving time and energy, every one was unique.

Even though we made each invitation in the same way, saving time and energy, every one was unique.  And of course, it’s a child’s eye and carefree style that make kids’ art one-of-a-kind.

1 comment

Pumpkins grown from last year's jack-o-lanterns

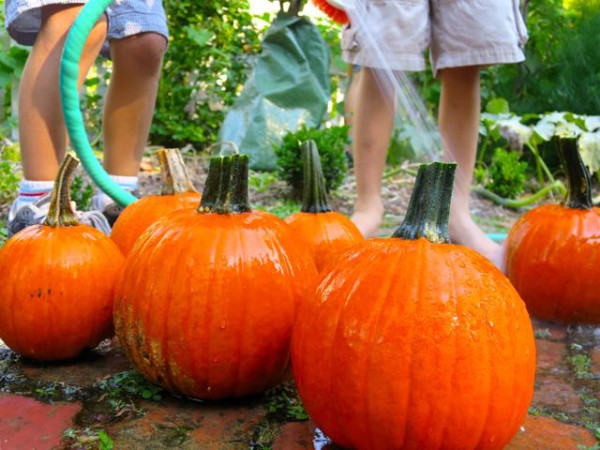
Before you roast the seeds you carve out of your Halloween pumpkins, plant a few.

Even though the standard advice says to plant seeds in late spring to avoid frost damage, anecdotal evidence suggests that pumpkin seeds can survive winter and still come up in spring.

We have found this to be true, and since we don’t have much to lose — our jack-o-lantern seeds are free and easy to plant — why not?

After you carve the pumpkins, plant the seeds

Our first experience growing pumpkins was in fact born of a Halloween planting. Sofia and Virginia were little then, and we were carving pumpkins with a little boy in our babysitting co-op in Arlington, Virginia.

When he wanted to plant one of the seeds, I was sure it wouldn’t amount to anything: it was deep fall and soon winter would be here.  But for the heck of it, we planted a few seeds under some shrubs in our side yard.

After you carve the pumpkins, plant the seeds

Those pumpkin seeds waited all winter and through the cool spring.  By summer I had forgotten all about the seeds and didn’t recognize the large vine creeping around the side of our house.

It was so eager it made its way to the front and began heading toward our steps, and that’s when I realized it was a pumpkin plant. We even began to joke, half seriously, that one day we’d find it trying to open the door and climb into our beds.

By the middle of the summer, we were eating the flowers as fast as the plant could produce them. They were so good, dipped in batter, and fried: crispy on the outside and soft and buttery on the inside.

Pumpkins that grew from last fall's planting of jack-o-lantern seeds

Last fall here in Washington, D.C., we planted a few seeds from our Halloween pumpkins.  It didn’t take much effort to tuck them into our front garden bed.

That winter, polar vortex blasts brought temps as low as six degrees in our area (mid-Atlantic, zone 7a). After spring rewarded us with bursts of colorful tulips, daffodils, and hyacinths, we thought all the surprises were over.  Then a couple of seedlings popped up through the mulch. With teardrop-shaped seeds still stuck to the first leaves, we knew right away they were our pumpkins.

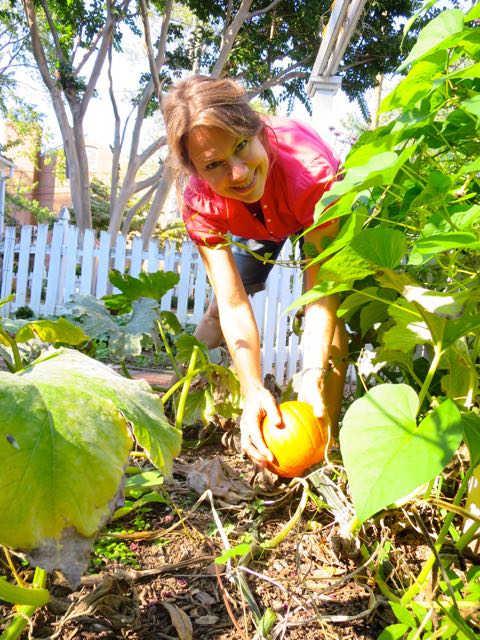
It turned out to be the biggest crop ever.  Usually pumpkin plants are more about the edible flowers for us, with one or two orange balls making it through the hurdles, but by fall we had 14 pumpkins.

Pumpkins that grew from last fall's planting of jack-o-lantern seeds

When the squirrels began gnawing on a few, we decided to bring them inside until Halloween.  We’re down three (one rotted, one was given away, and one didn’t survive a bouncing experiment), but I’m sure we’ll make it to October 31 with the necessary five.

Tips for planting pumpkin seeds -- even in the fall

Tips for Planting Pumpkins

Whether you’d like to test fate and toss some pumpkin seeds into the dark of winter, or save your seeds and plant them in spring, here are some tips that will tilt your luck:

  • Plant the seeds about 2 inches deep into rich soil (not dry, hard earth). “If your soil has been used in the past to grow flowers, a vegetable garden, or even a lush patch of weeds,” say pumpkin growers at Jack Creek Farms, “then it will be suitable to use for planting pumpkins.”
  • Pumpkins need full sun and un-soggy conditions, so plant them away from the shade of trees and buildings and avoid areas that puddle.
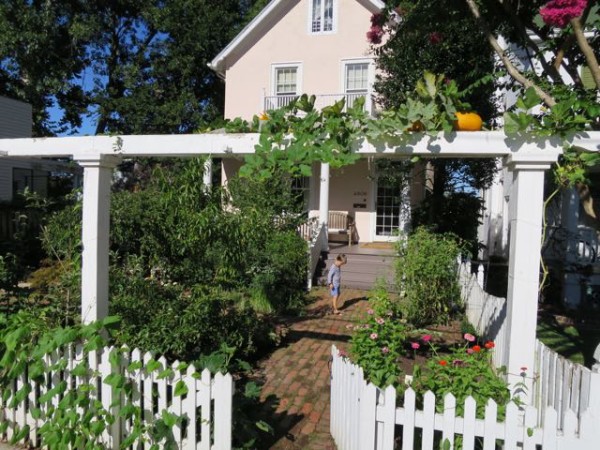
  • You don’t need a lot of garden space for pumpkins. The vines can spread out over the grass, sidewalk, or even be trained to climb up a fence or arbor, as we did with one of our plants this year (pictured below).
  • Know what a pumpkin seedling looks like so you don’t weed them out in spring.
Pumpkins are climbers and can be trained to grow up fences, trellises or arbors, like this one

We have found pumpkins to be one of the easiest and funnest foods to grow at home.  Their vines seem to stretch out before your eyes, growing as much as six inches per day, and producing vines 10 to 20 feet long.  The star-shaped yellow flowers are delicious to eat — fried, stuffed, or folded into risottos and pastas.  Sautée the tender vine tips in butter for a delicacy that rarely makes it to restaurant menus.

Make pumpkin soup from your own pumpkins by planting the seeds you would have thrown away

Virginia (11 yrs.) made pumpkin soup this fall

And then there is the fruit. Who doesn’t love to watch green globes grow bigger and rosier as the summer wears on?  Plant cooking pumpkins to get the most flesh for making pies, breads, soups and sides, or carving pumpkins to get the best shell for holding a candle on Halloween night.

4 comments

How Do You Tell the Difference Between Frugal and Cheap? at frugal-mama.com

When trying to cut down and save money, some people worry that they’ll come off as looking tight-fisted.

It doesn’t have to be that way.  Being frugal is in many ways being generous.  I explain more in my responses to a recent interview for personal finance expert Jean Chatzky at Savvy Money:

What is the difference between being frugal and being cheap?

Cheap is a quick fix, frugal is a thoughtful process.

Can you be frugal and still buy expensive items?

Yes, if the purchases are planned and fit into your philosophy of life. For example, you might choose to pay more where you spend more time in your life, such as on office chairs, mattresses, or strollers.

Where is the line thin between frugality and being cheap, and how can you stay on the frugal side?

Good furniture is very expensive, but buying cheap often means flimsy, trendy, and short-lived. One way to save money while getting quality and style is finding vintage, antique, and salvaged furniture and house parts. Buying second-hand is also being frugal with the earth’s resources.

How can you bargain-hunt without seeming cheap?

Getting the most bang for your buck is not cheap, it’s smart. And you could earn bragging rights for finding all the designer brands and new-with-tags clothing that are available at thrift stores. There are also consignment shops (a bit more expensive) or clothing swap parties (free but require planning).

Skipping out on the check at a group dinner is cheap, but is it cheap if you simply buy low-quality products for your own personal use?

You show what you care about when you pull out your wallet. The cheapest food is probably not good for your health, the cheapest webstore will not keep your colorful neighborhood store open, and the cheapest appliances will probably end up in the trash soon.

Frugal is being careful about what you spend, and there is great peace of mind when you can align your dollars with your values.

How Do You Tell the Difference Between Frugal and Cheap? at frugal-mama.com

Is it better to buy used products or older ones that are still in the box?  For example, a used iPhone 6 vs. a brand new iPhone 5s.

With technology changing so fast, it’s usually best to go with the newest model you can find at a good price. Of course, always do your research with ratings and review sites like cNet, ConsumerSearch, and Edmunds, because newer models can have problems or features that you don’t need.

What is your general advice for staying frugal without being cheap?

Try to turn the focus away from spending and onto relationships and passions. Get to know your neighbors, meet people in your school or work community, join groups. Instead of buying and reselling stuff: share, borrow, and exchange. Create an atmosphere where people don’t have to feel miserly and self-seeking to save money, but generous and friendly.

I really do think that giving is one of the keys to spending less and living well.  When you give your time, your shoulder, or a home-cooked dinner, you are helping create a place where people share, help, and take care of each other.

p.s. For more thoughts on how you can be proud of being frugal, there’s also Why Frugal is Not the Same as Cheap by guest writer Karen Falter.

1 comment

How to make crispy, delicious kale chips @ frugal-mama.com

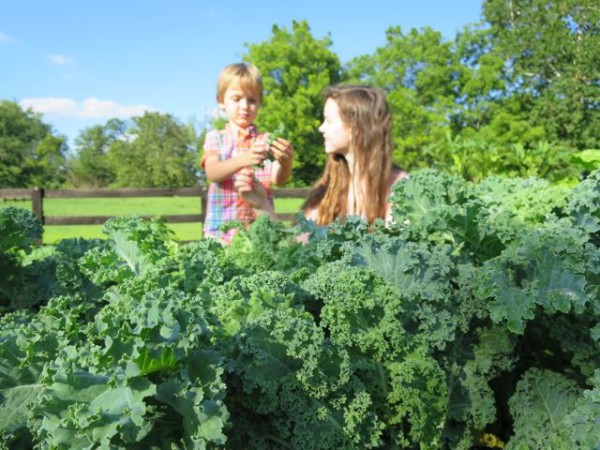
Luke and Sofia picking kale at our family farm in Ohio

When we first discovered kale chips, it was 2009 and we were living in New York City. We picked up a bunch of kale with our weekly farm share of potatoes, sage, eggplants, and beets. (As part of a Community-Supported Agriculture (or CSA) program, we paid for our share of the farm’s harvest at the beginning of the growing season, and picked up our weekly portion near our apartment in Manhattan.)

Kale is a “super food,” packed with fiber, calcium, vitamins A, C, E, and other nutrients. But the only way I knew how to cook this tough, bitter leaf was to boil it then squeeze out the water and sauté it with bacon, like my mom used to do. This recipe was good, but a little labor-intensive, so I was glad when our CSA coordinator passed out a recipe for kale chips.

How to make crunch, delicious kale chips

One of our first batches of kale chips when this post was first published in 2009

This was at the beginning of the kale popularity wave. Sofia and Virginia were seven and five years old, and they loved the kale chips so much that previously unheard sentences began coming out of their mouths like, “Mama, can you please buy some more kale?”

Ever since I originally published the kale chips recipe here, it’s been a favorite in our family. My mom grows it on our family farm in Ohio, and when we made a huge batch yesterday for lunch with our Mennonite friends, I decided to update this post with new photos.

Over the years I’ve had my share of kale chip flops (soggy or burnt leaves), so I’ve also added tips on cooking kale chips to crunchy perfection.

Baked Kale Chips

Kale chips recipe

We season our kale chips with salt and a touch of black pepper, but you might want to flavor them with spices such as cumin and cayenne pepper or fresh herbs like rosemary and thyme.

We have found that curly kale comes out crispier than Tuscan kale, although this recipe works with almost all assertive greens.

Makes about 6 servings

  • 1 bunch of kale (about 8-10 stalks)
  • 2 tablespoons olive oil
  • ½ tablespoon vinegar (apple cider or other)
  • generous pinch of salt

1.  Preheat the oven to 375 degrees.

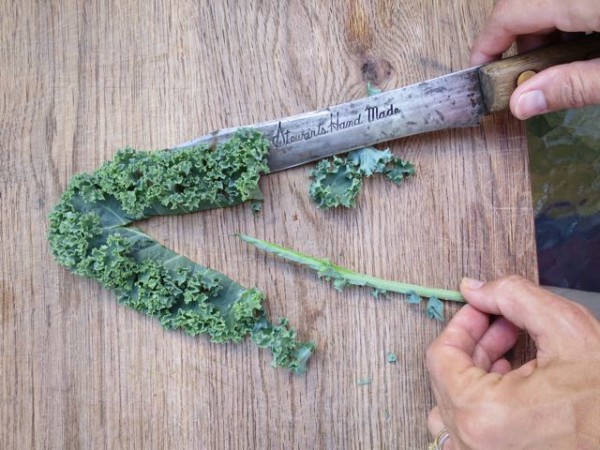
2.  Debone the kale by removing the main stalk.

When making kale chips, make sure to debone the kale by cutting out the woody stem

Do this with two long knife strokes, or by grabbing the base of the stalk and stripping off the leaves with your hands. (The stem, which is tough and full of liquid, tends to make chips tough and wet.)

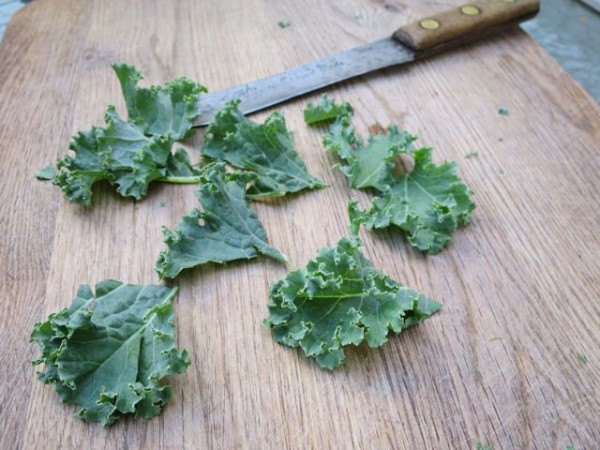
3.  Chop or tear the leaves into 2-inch pieces.

When making kale chips, remove the stalk and then cut into 2-inch pieces

4.  Wash the leaves in a large bowl or salad spinner.  Spin dry or pat dry with towels. (Thoroughly drying the leaves will make them crisp, instead of steam, in the oven. Drying will also help the oil and vinegar cling to the leaves.)

5.  In a large bowl combine the kale with the oil, vinegar, and salt and use your hands to massage the seasoning into the leaves.

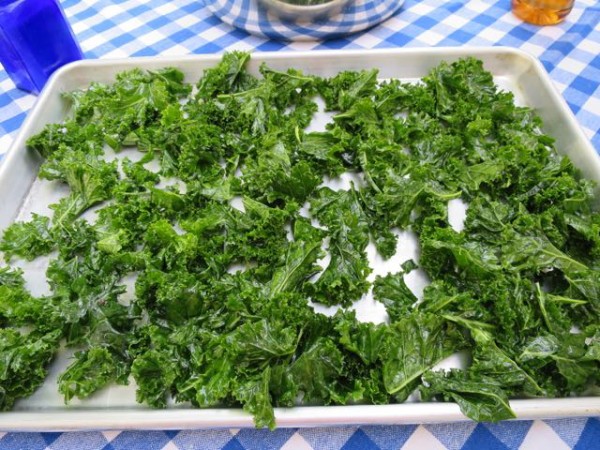
When making kale chips, spread the seasoned leaves in a single layer on a baking sheet to prevent sogginess

6.  Spread the kale out onto two rimmed baking sheets (mine are about 11 x 17″). Aim for a single layer and minimize overlapping.

7.  Place on the center rack in a preheated oven. After about 10 minutes, check the kale. If the chips on the borders are brown and the ones in the center are green, you’ll need to flip and rearrange the leaves for even baking. Return to the oven and remove when chips are crunchy and slightly browned, about 5 minutes more, depending on your oven.

8.  Serve immediately, avoiding contact with moist or wet foods.  Kale chips can un-crisp very easily if not kept dry.

How to make crispy delicious kale chips @ frugal-mama.com

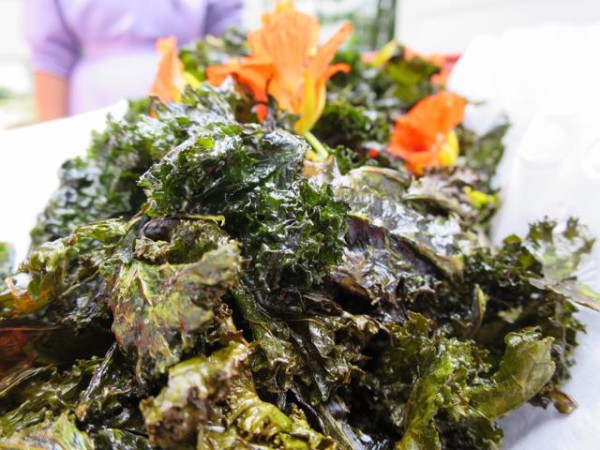
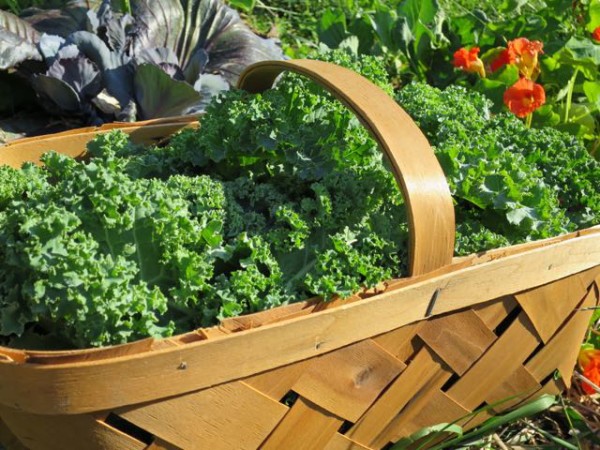
We garnished our platter of kale chips with edible nasturtium flowers.

Kale chips are a delicious, healthy potato chip alternative. If only you could buy them by the bagful at the corner store!

19 comments

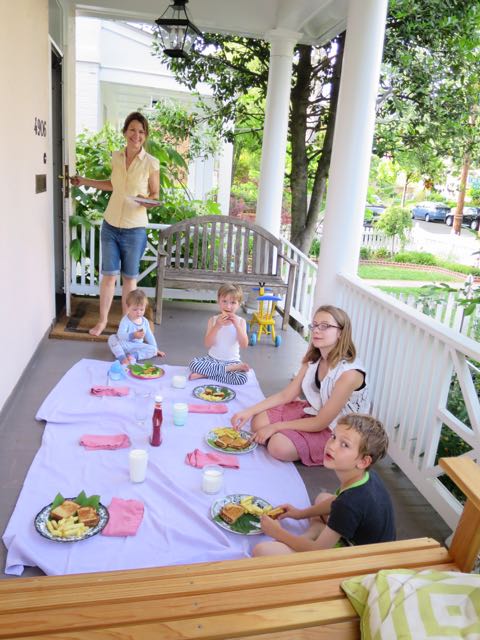
Eating grilled cheese on the porch, as soon as the weather got warm enough. More at frugal-mama.com

Back in the spring, it was a big deal to have grilled cheese sandwiches on the porch. Now our garden looks like a jungle and the cicadas swell a slow rhythm to the quiet hot afternoons.

Here are some pictures looking back on our spring and into the summer.

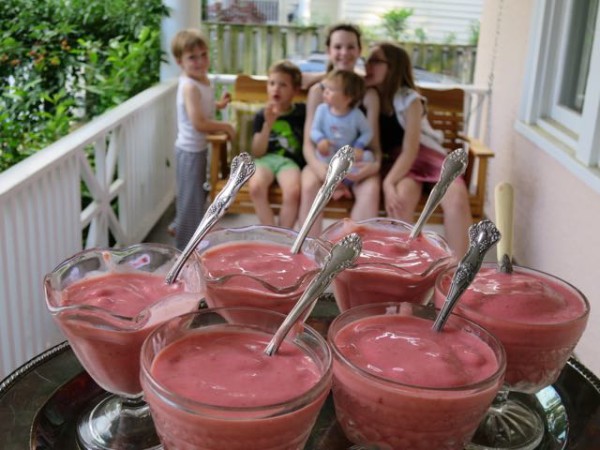
We love our new porch swing and our old strawberry sorbet-smoothies.

We love our new porch swing and our old strawberry sorbet-smoothies.

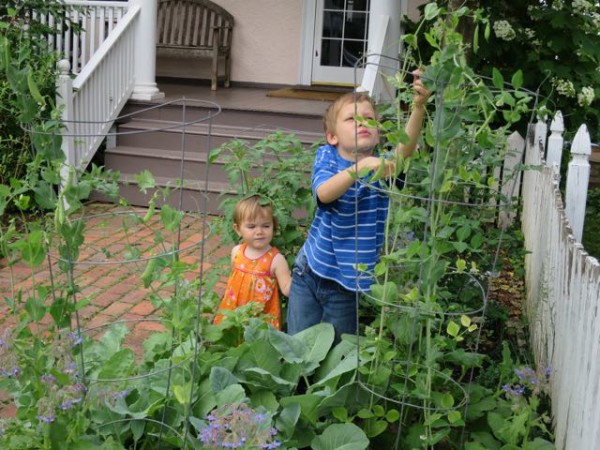
Sugar snap peas were a good crop this year for healthy snacking. The key was to plant the seeds as soon as the ground could be worked in late winter. Sugar snap peas were a good crop this year for healthy snacking. The key was to plant the seeds as soon as the ground could be worked in late winter.

Sugar snap peas were a good crop this year for healthy snacking.  The key was to plant the seeds as soon as the ground could be worked in late winter.

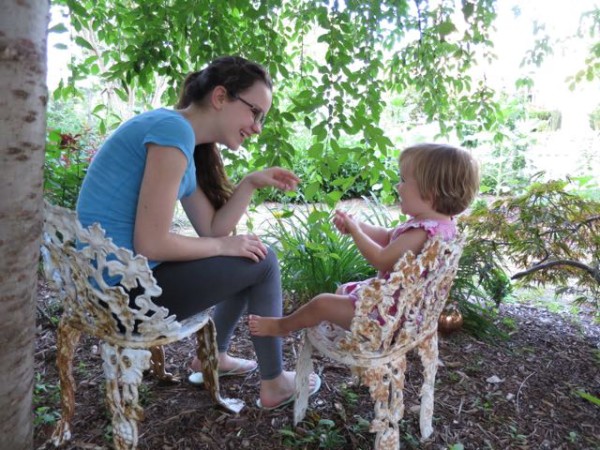
Sofia and Diana on the baby antique chairs under our weeping cherry tree. We planted alpine strawberries along a rock border, because they can take some shade and they don't spread all over like garden strawberries.

We planted alpine strawberries along a rock border, because they can take some shade and they don’t spread all over like garden strawberries.

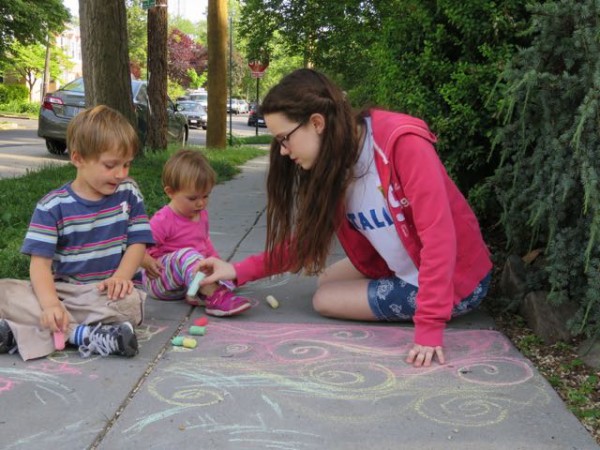
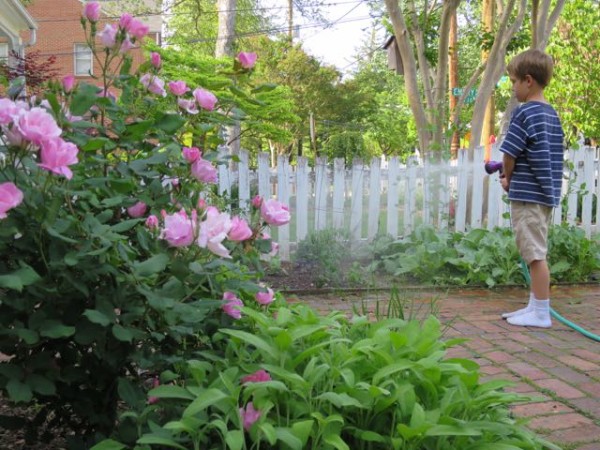
Sofia doing sidewalk drawings with Luke and Diana. Mark watering the vegetable garden and new fig tree.

Sofia did sidewalk drawings with Luke and Diana, while Mark watered. We also planted a baby fig tree this year.

We visited National Harbor for the first time on Memorial Day. The carousel at National Harbor near Washington, D.C.

We visited National Harbor for the first time on Memorial Day.

Sour cherries from our Montmorency cherry tree were abundant this year. PIcking cherries from our Montmorency sour cherry tree. We had enough to make a pie this year!

Diana liked to squeeze behind the roses and pick her some sour cherries. We had enough this year for Virginia to be able to make a pie!

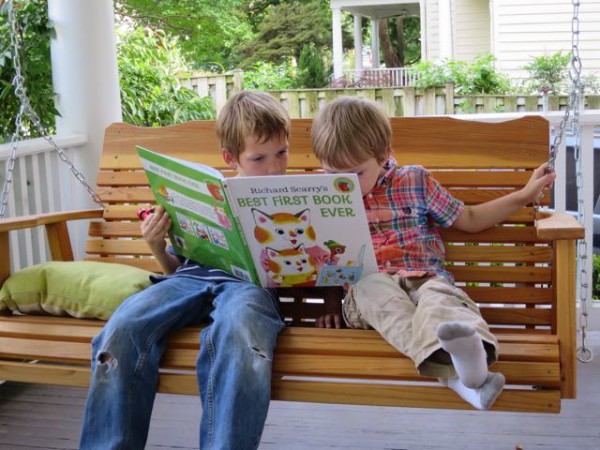
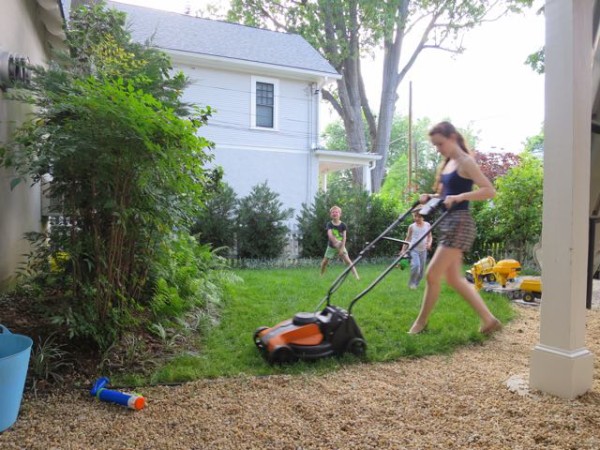
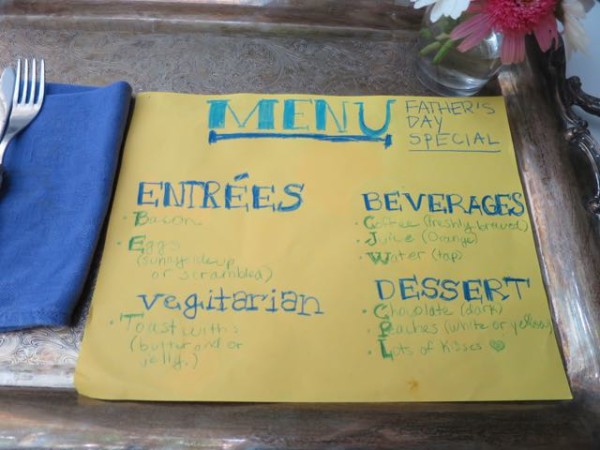
Mark and Luke reading a book on our new porch swing. Cutting the grass with a battery-powered lawnmower. Father's Day breakfast-in-bed menu that the kids made.

Enrico got breakfast in bed for Father’s Day.

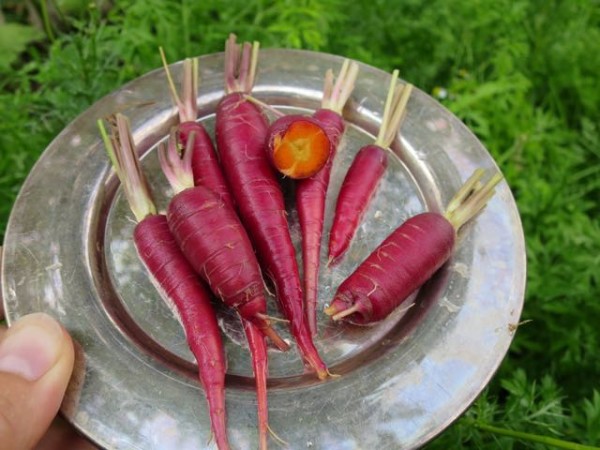
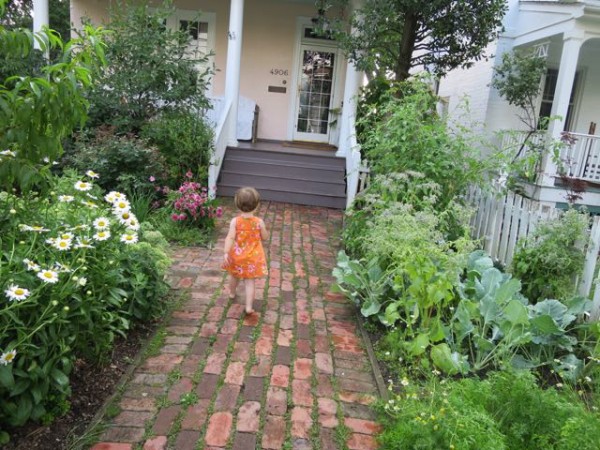
Diana in front of our house with Shasta daisies and the peach tree in the background. Baby purple carrots are orange inside and taste a tiny bit spicier than regular carrots.

We grew purple carrots.  Tiny ones because Luke scoffed at evenly spaced rows and cast the seeds by fistful.

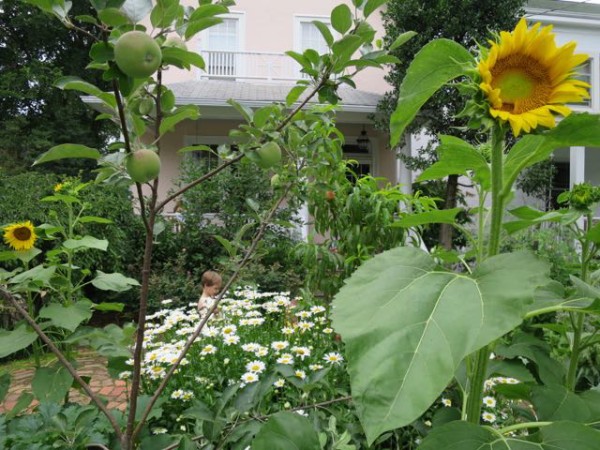
Front yard garden with daisies, chamomile, kohlrabi, purple carrots, borage, and sugar-snap peas. Sunflowers were surprise guests in our garden this year, apparently planted by birds among the apples, peaches, and daisies.

And sunflowers were surprise guests, apparently planted by birds among the apples, peaches, and daisies.

That’s all for now.  We’re in Italy now, and I’m wishing you a summer that is nice and hot, and restful yet adventurous.

2 comments

Traveling with Kids at Frugal-Mama.com (photo: Liguria, Italy)

Just two and a half more days of school, and summer will officially start at our house.

One of the first things we’ll be doing, after the hip-hoorays and ice cream celebrations, is picking the best memories of this school year from the stacks we have collected (and the armfuls coming home).

We’ll make ourselves get them organized and tucked away in binders before we are allowed to start packing for our big trip.

After four years, we are all going back to Italy this summer. My husband’s strategy for saving money on tickets was to snatch up the lowest fares as soon as the seats went on the market: in our case 330 days (or 11 months) before the departure date.

Finally the time is almost here, and we are so excited to play with cousins in Liguria (seen above), show the kids Venice for the first time, and visit our old neighborhood and friends in Milan.

I’ll be leaving my computer at home, so I won’t be posting from Italy.  Family vacations are great times for family bonding and listening to our inner compass, and I find that happens best without the distractions of wifi.

Traveling with Kids

I’ll have something ready to be sent out in July, but for now, I’ve updated some posts about traveling with kids:

11 Tips for Surviving Air Travel with Kids

How to Prepare Your House (and Life) for Vacation

The Family Road Trip Packing List

For a Glowing Vacation, Pull the Plug

I hope your summer is full of both downtime and adventure, whether you stay close to home or venture out.

3 comments